
polycarbonate-greenhouse
Polycarbonate Greenhouse: Why It's the Best Choice for Year-Round Growing
Why a polycarbonate greenhouse is the best choice for year-round growing: insulation, prices, assembly, planting calendar and real ROI, figures checked.
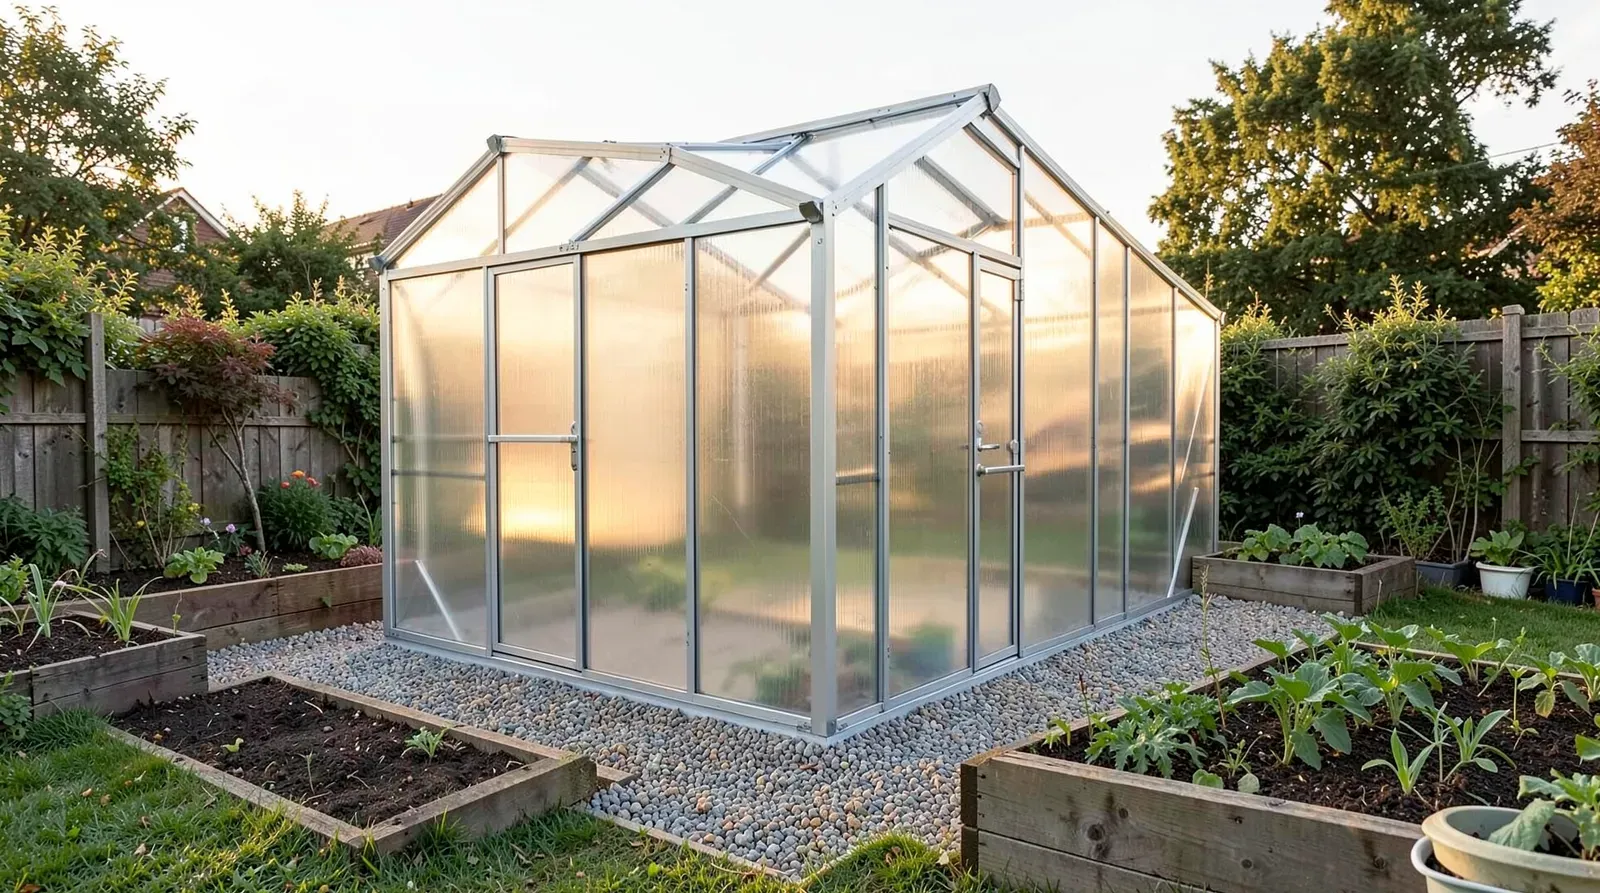
Sophie hesitated for three years.
Three winters of bringing her seed trays indoors every evening as soon as frost threatened. Three summers of bringing home bland supermarket tomatoes, while the empty spot at the back of her garden, near Lyon, was just waiting to produce. Then one March Saturday morning, a 9 m² kit was waiting at the bottom of the garden. By nightfall, dusk was falling on a greenhouse standing tall.
One day. That’s all it took.
This scenario is far from exceptional — and it could be yours as early as the next growing season. For year-round growing in the garden, the polycarbonate greenhouse clearly stands out. Its twin-wall multiwall panels insulate two to three times better than single glazing — U-values of 1.9 to 3.9 W/m²K versus 5.8 W/m²K, according to technical data reported by Habitatio.fr — and, if the manufacturers are to be believed, they withstand up to a hundred times more impacts than glass. A family kit of 6 to 12 m² goes up in a single day, for €400 to €1,500. Concretely: seedlings started as early as February, tomatoes harvested until the end of October, spinach that makes it through winter without a single kilowatt — all for an investment two to three times lower than glass, with a durability no plastic sheeting can keep up with.
A promise like that deserves to be verified line by line. This guide therefore cross-references the technical data from the sector’s leading specialists, checks the regulatory framework against official sources (Légifrance, service-public.fr) and flags, figure after figure, what no independent study confirms. When a figure comes from a retailer, you’ll know it — and you’ll be able to weigh every number with full knowledge of the facts. By the end of this read, you’ll know what to buy, where to install the greenhouse, how to assemble it — and what it can bring in, without glossing over the uncertainties.
The key figures in 30 seconds
- Insulation: U-value of 1.3 to 3.9 W/m²K depending on thickness, versus 5.8 W/m²K for single glazing.
- Light: 80 to 82% transmission, more than enough for a family vegetable garden.
- Price: €400 to €800 for 6 m², €800 to €1,500 for 12 m², €200 to €3,000 across all ranges.
- Regulations: prior declaration at the town hall above 5 m² of footprint, building permit above 20 m².
- Output: about 50 kg of vegetables per season for 6 m², according to retailer data (order of magnitude not confirmed by an independent study).
Table of contents
- What is a polycarbonate greenhouse?
- How to choose: the criteria that matter
- Installation: location, foundations, assembly
- What to grow? The complete calendar
- Maximizing yield
- Budget and return on investment
- FAQ
- Our verdict
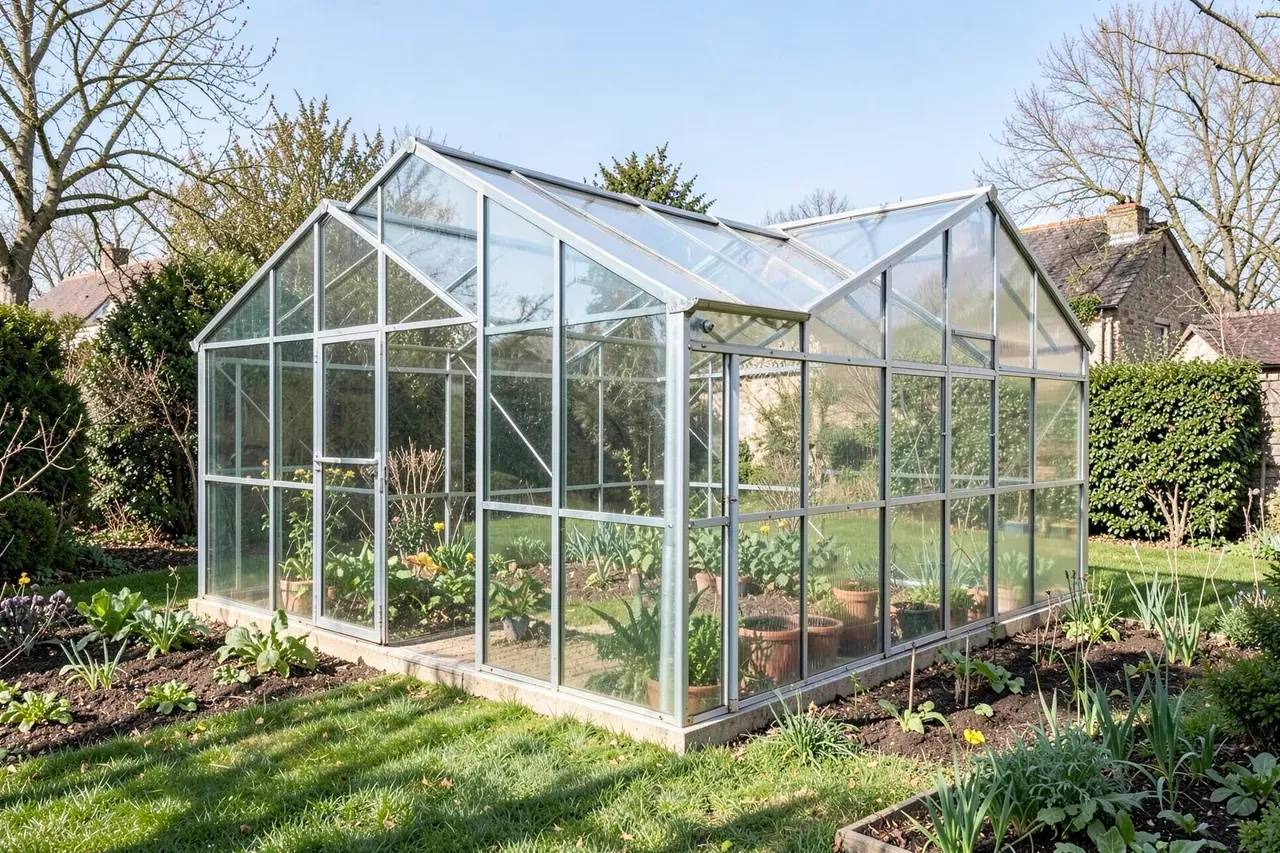
What is a polycarbonate greenhouse? Everything you need to know before buying
The principle: two walls, air channels, a thermal barrier
Let’s start with the basics — the ones you’ll unpack one morning in the garden. Polycarbonate is an almost unbreakable thermoplastic, and a “polycarbonate greenhouse” is nothing more than a growing structure whose translucent walls are made of it. The dominant format on the consumer market is the multiwall sheet known as “twin-wall”: two plastic sheets joined by ribs that delimit air channels.
You already know these channels under another name: double glazing. In a house, two panes of glass and an air gap slow the passage of heat. In the sheet, two layers and air chambers do exactly the same job. Hence a U-value (the heat-loss indicator: the lower it is, the less heat you lose) of 1.9 to 3.9 W/m²K depending on thickness, versus 5.8 W/m²K for single glazing (Habitatio.fr).
What does less lost heat change for your vegetable garden? A greenhouse’s job hasn’t changed since the first crops grown under cover: capture solar radiation, retain heat, protect crops from frost, wind, driving rain and hail. Three gains follow directly. Sow earlier. Harvest later. Overwinter tender plants. Nothing more, nothing less.
Versus glass, the trade-off fits in three lines. Light transmission of multiwall panels reaches 80 to 82%, versus 88 to 90% for glass — a gap that might seem troublesome on paper, but has no consequence for most crops, which tolerate transmission below 85% without notable yield loss, according to the same source. Better still: multiwall panels diffuse light evenly, which limits leaf scorch and lights the rows uniformly (Réseau Agricole).
Add an advertised impact resistance up to a hundred times that of glass and a weight of 1.5 to 3 kg/m², versus 12 to 15 kg for glass (Les Serres du Cédon): and you have the trade-off that has won over French family gardens.
A 12 kg pane of glass can’t be handled alone. A multiwall sheet can.
The detail that decides everything: the UV treatment. Without protection, polycarbonate yellows and becomes brittle within 3 to 5 years (Serre2Jardin). Quality sheets come with a co-extruded UV protection, to be fitted on the outer side, oriented as indicated by the manufacturer. The marking appears on the protective film: check it before removing the film. It’s your first guarantee of durability — and the classic first-assembly trap: unpacking fast, tearing the film, fitting the protected face inward. Almost everyone falls for it once; you won’t, now that you know. Some brands treat both faces, others only one. The datasheet settles it.
The principle is simple. What’s left is choosing the shape it will take in your garden — and the market offers four, which are not remotely equal.
The four types of greenhouse on the market
The rigid greenhouse with straight walls, mounted on an aluminum or galvanized steel frame, dominates four-season family use. It’s on this type that this guide focuses its analysis. Professional models advertise wind resistance up to 120 km/h and a snow load of 30 kg/m² (Les Serres du Cédon — professional range, La Ferme du Fays).
The polytunnel clad in rigid panels remains the cheapest. For a tight budget and low-growing crops, it does the job. But the volume lost under the curve quickly limits tomatoes — and the simple comfort of working upright. If you’ve ever spent an hour on all fours under plastic sheeting, you know exactly what this format promises you every season.
The lean-to greenhouse leans on an existing wall: 20 to 30% cheaper than a freestanding greenhouse according to La Ferme du Fays, it benefits from the wall’s thermal mass and squeezes into small plots. Its orientation, however, is dictated by that wall. A point to weigh before buying, not after.
Then there’s the mini-greenhouse, 1 to 3 m², which covers balcony needs: starting seedlings, taking cuttings, nothing more. Sooner or later, you’ll have to move up a size.
Panel thickness makes the other big difference — and it’s the criterion product pages display most proudly. The following table summarizes the sector’s orders of magnitude based on Habitatio.fr and Les Serres du Cédon; none of these sources cites a measurement standard, so treat all of this as indicative.
| Thickness | Recommended use | Advertised U-value |
|---|---|---|
| 4 mm | Side walls, mild climate | 3.9 W/m²K |
| 6 mm | Roofing, temperate zone | 3.3 W/m²K |
| 8 mm | Roofing, cold or snowy zone (advertised load: 50 kg/m²) | 2.6 W/m²K |
| 10 mm | 3–4 season use, heated greenhouse possible | 1.9 W/m²K |
| 16 mm | Intensive production, continental climate | 1.3 W/m²K |
Two practical rules emerge from it. “4 mm for the walls, 6 mm minimum for the roof,” for starters. Then: 8 mm becomes the norm as soon as snow settles — the Alps, the Vosges, the Massif Central — because 4 mm roofing gives way under more than 20 cm of accumulated snow (Les Serres du Cédon). Saving a few dozen euros on a thin roof can cost an entire greenhouse; a winter of sticky snow in Grenoble shows no mercy.
The sources disagree on one point, and it’s worth knowing before you buy. Serre2Jardin recommends 10 mm as the universal standard for four-season use, while other guides deem 6 mm sufficient in a mild climate for a single season. The two positions reconcile through your goal. If your project — the one in this guide — is to grow year-round, 10 mm twin-wall serves as the reference thickness. 6 mm still makes sense in a mild climate, on a tight budget. The call is yours.
How much space, for which gardener?
You’ve been through this with something else: the closet that’s too small, the garage that’s too low, the basement that’s too damp. A greenhouse obeys the same law. A realistic starting point is 4–6 m²: enough to start plants, in any garden. But every user review converges on the same finding — space runs out from the very first season. Quickly, and often.
The usage grid from Serre2Jardin sets the benchmarks: 6 to 9 m² for full crops and overwintering in a garden of 100 m² or more, 9 to 15 m² for sustained production with workspace, beyond 15 m² for semi-professional use.
Capacity-wise, Les Serres du Cédon puts figures on the key formats. A 6 m² takes about forty potted seedlings or two rows of tomatoes. The 9 m², the most versatile format, is enough for a household of two or three. The 12 m² covers a family vegetable garden for four, central potting bench included.
Hence a unanimous recommendation among gardeners: buy a size above what you estimate you need. Table et Jardin formalizes it: plan for 20% more usable area than your initial needs, to absorb potting tables, seedling shelves and crop rotations.
Everyone believes they’re the exception. No one is.
Thickness, shape, footprint: you now have the fundamentals. But between two greenhouses at the same price, everything hinges on details the spec sheets don’t highlight. The rest of the guide is there for that.
How to choose your polycarbonate greenhouse: the criteria that matter
Size and dimensions: the three measurements to check
Beyond the advertised square meters, three interior dimensions separate a comfortable greenhouse from a frustrating one.
Ridge height first: two meters minimum, otherwise tomatoes and climbing beans butt up against the roof (Les Serres du Cédon, Côté Décorations). A tomato smothered against the ridge in July is the detail that spoils an entire season. Then the central path: 60 cm minimum to water, weed and harvest without trampling the beds. Finally, the width. The standard hovers around 3 m (common formats 3 × 3 m or 2.5 × 3.6 m for 9 m²), which gives two growing beds and smooth movement.
Observed budgets for the family formats: €400–800 for 6 m², €600–1,200 for 9 m², €800–1,500 for 12 m². And the +20% rule applies here too: seedling shelves and potting tables devour the planned space faster than you’d think.
Then comes the question you may have been reading this article for from the very start: polycarbonate, tempered glass or plastic sheeting? This is where the buying decision is made. Take three minutes — the table below answers it figure by figure.
Polycarbonate, tempered glass or plastic sheeting: the real comparison
Sunday morning. Two tabs open: on one side a glass greenhouse, on the other a polycarbonate greenhouse. And in between, a budget that leaves no room for error. Which one will survive the first storm? Which one will serve you tomatoes in March? The table below, compiled from the sheets of Les Serres du Cédon, pits multiwall polycarbonate against tempered glass.
| Criterion | Multiwall polycarbonate | Tempered glass |
|---|---|---|
| Light transmission | 80–82% | 88–90% |
| Insulation (U-value) | 1.9 to 3.9 W/m²K | 5.8 W/m²K |
| Weight per m² | 1.5 to 3 kg | 12 to 15 kg |
| Impact resistance | Very high (≈ 100× glass) | Brittle |
| Lifespan | 10–20 years | 30 years minimum |
| Average budget (complete greenhouse) | €500–2,000 | €1,500–5,000 |
The bottom line. Polycarbonate wins on three counts: thermal insulation — the air cells block heat loss where single glazing lets it escape —, safety, since no sharp debris ends up around a family vegetable garden, and purchase price. Glass retains two genuine advantages, higher light transmission and double the longevity; over twenty or thirty years, that argument counts, and claiming otherwise would be lying to you. Plastic sheeting costs less to buy, but it remains flexible, poorly insulating and in need of replacement after a few seasons; on the criterion that concerns us here — growing year-round — rigid polycarbonate outclasses it without discussion.
Has glass disappeared for all that? No, and the growing profile explains it, as the 2026 comparison from Habitats-Durables.org summarizes. Family vegetable garden (tomatoes, peppers, eggplants, lettuce, herbs) and winter production: 6–10 mm polycarbonate, whose insulation becomes a real asset as soon as temperatures drop. Demanding collections — orchids, rare cacti, citrus, tropical bonsai: tempered glass, whose perfect transparency makes close pest inspection easier, at the cost of rigorous shading management and boosted ventilation. Two worlds, two materials.
If yours is the year-round vegetable garden world, one question remains open: why can two apparently identical greenhouses sell for €600 and €1,400? The answer lies in an element almost nobody looks at first.
What drives the price: the frame above all
The first price factor isn’t the thickness of the panels. It’s the frame.
According to Les Serres du Cédon, a galvanized steel frame costs €800–1,200 for a 6 m² and lasts 8 to 10 years; aluminum (€1,500–2,500) resists corrosion better and goes beyond 20 years. In humid or windy regions — Brittany, the Atlantic coast — aluminum needs no justification: a frame that rusts is an entire greenhouse to replace.
One price caveat, in full transparency, because you’re bound to come across it in your research: Les Serres du Cédon’s general guide advertises €400–800 for the 6 m², while its dedicated page shows €800–2,500 “in 2026”. This divergence probably reflects the range levels — thickness, frame, options. No reliable median figure can be settled from these sources alone: compare spec sheets model by model. As for the 100% self-built greenhouse (wood frame + panels bought separately), no reliable source prices it; this route deserves a direct quote from panel suppliers.
For anyone seeking the best value for money, cross-reading the ranges (Serre2Jardin) points to the mid-range €500–1,200: solid structure, 10 mm UV-treated panels, ventilation vents included. The entry level (€200–500, thin 4–6 mm panels) advertises a lifespan of just 5 to 8 years. The high end (€1,200–3,000) adds thick profiles, 16 mm panels and a 10-year warranty — relevant for a heated greenhouse or a harsh climate, less so for a garden in a mild oceanic zone.
The synthesis of everything above fits into the table that follows.
The options summary table
| Option | Glazing | Indicative price | Insulation (U) | Strengths | Limits |
|---|---|---|---|---|---|
| Mini-greenhouse | 4 mm | variable | low | balcony, seedlings, minimal budget | no interior space, seasonal use |
| Lean-to greenhouse | 6–10 mm | −20 to 30% vs freestanding | 1.9–3.3 W/m²K | benefits from the wall, small plots | imposed orientation, depends on the wall |
| Entry level | 4–6 mm | €200–500 | 3.3–3.9 W/m²K | minimal budget | advertised lifespan 5–8 years, limited wind resistance (80 km/h advertised on some models) |
| Mid-range (our “full-year” reference) | 10 mm UV-treated | €500–1,200 | 1.9 W/m²K | 3–4 seasons, vents included, warranty up to 10 years advertised | intermediate investment |
| High end | 16 mm | €1,200–3,000 | 1.3 W/m²K | heated greenhouse, cold regions | high budget |
| Professional segment | 8–16 mm | €2,000–15,000 (10–100 m²) | 1.3–2.6 W/m²K | winds advertised up to 120 km/h, 30 kg/m² of snow | beyond family budget |
Sources: Serre2Jardin, Les Serres du Cédon, La Ferme du Fays. Indicative values from industry players, not certified by any cited standard.
Your profile should normally be clear by now. But a well-chosen kit is still nothing: the installation decides whether your investment lasts fifteen years or five. And that installation starts well before the first screw — in your garden.
Installing your polycarbonate greenhouse: location, foundations and assembly
Where to place the greenhouse, and which way round
It all starts with ten minutes of inspection in your garden, on a sunny day. Three conditions emerge from every source: light, shelter from wind, moving air. Shadows cast by large trees and walls cut off photosynthesis and hold on to morning dampness (Matériaux & Béton). As for wind, a low hedge or an open fence perpendicular to the prevailing winds breaks the force of the flow without creating turbulence. Allow 50 cm of clearance all around, for maintenance as well as ventilation (Côté Décorations).
On orientation, two schools coexist — and you’ll meet both if you read several guides. The first recommends an east–west ridge axis: winter sunlight, when the sun skims the horizon, stabilizes and summer heat peaks soften (Matériaux & Béton). The second advocates a south to south-east exposure with a wall or hedge to the north as a windbreak (Côté Décorations). These pieces of advice don’t really contradict each other: the first concerns the roof axis, the second the position relative to shade casters and the dominant sun. In the field, decide according to your constraints — existing shade, prevailing winds — seeking maximum winter light.
That’s the scarce resource of year-round production.
Location found? What’s left is the least glamorous part of the project. And it’s precisely the part that decides its survival.
Foundations: anchoring decides whether the installation survives
A well-anchored greenhouse is like a seatbelt: invisible every day, decisive on the day of the storm. And yet anchoring is weakness number one in a windstorm. Three solutions depending on the soil, detailed by ReadScheme.
The concrete slab with cast-in base plates remains the most solid method, to be reserved for a permanent installation. Galvanized steel anchor stakes, driven at least 40 cm deep, are enough on compact clay-loam soil but give way on sand and loose earth. A 20 cm concrete-block base on a concrete footing requires more work; it offers the best stability and blocks rising damp.
A middle path appeals to DIY-minded gardeners: a steel frame anchored on piers, topped with a draining screed (Matériaux & Béton). Inside, think drainage right from the preparation stage: dig out 20 cm, lay a geotextile membrane, fill with 10/20 drainage gravel, then rebuild a loose, workable soil. The field verdict from ReadScheme leaves no room for doubt: “waterlogged soil in winter kills roots even under a greenhouse”.
Before the truck delivers your panels, one step many people put off — until it costs them dearly.
The regulatory framework (official source): above 5 m² of footprint, a prior declaration of works is required at the town hall; above 20 m², it’s a building permit, in accordance with article R421-9 of the French Urban Planning Code (consolidated text on Légifrance). Height, installation duration, protected areas and local development plan (PLU) rules can change these thresholds. A trip to the town hall — or to service-public.fr — before buying any material will spare you trouble; it’s also the recommendation of the construction guide by McCover. As for standards, the European reference for the design of greenhouse structures carries the code NF EN 13031-1; few commercial datasheets mention it — ask the manufacturer for the structural resistance certificate.
Declaration filed, anchoring decided? Then the day that counts can begin.
Step-by-step assembly
A ready-to-assemble standard-size kit goes up in one day, in this order (Les Serres du Cédon):
- Define the dimensions and prepare the plans (ridge ≥ 2 m).
- Lay the foundations: concrete slab for larger areas, piers or joists below 9 m².
- Assemble the frame (aluminum or class 4 treated wood).
- Cut the panels with a circular saw, UV-treated face upward/outward.
- Seal the end channels with the finishing tapes.
- Fasten with wide-head screws (Ø 20 mm) with compressible EPDM washers, without over-tightening so as not to crush the cells.
- Finish with the door, the roof vent and the gutters.
Seven steps. One day. But two technical details separate an installation that holds for fifteen years from one that degrades in five. The first concerns the orientation of the cells: the channels must follow the slope, so that interior condensation runs downward instead of stagnating (Réseau Agricole). The second is expansion. Polycarbonate moves with temperature; allow the recommended clearance in drilled holes and joint profiles. The classic mistake is buying panels that are too large without planning for cuts, overlaps and clearances (Réseau Agricole).
Cross-section of a correctly fitted multiwall panel:

  UV-treated face (marked on the film) → outer side
 ┌──────────────────────────────────────┐
 │  ▭   ▭   ▭   ▭   ▭   ▭   ▭   ▭   ▭   │  ← air channels oriented
 └──────────────────────────────────────┘     along the slope
   sealing tape at the top end;             condensation slides
   thermostatic opener on the roof vent     toward the bottom of the slope
Sealing tapes are a genuine point of divergence between sources: some want the microperforated tape at the bottom to evacuate condensation, others at the top. The most widespread logic — airtight sealing at the top, breathing at the bottom — seems physically sound. But the manufacturer’s instructions for your panels prevail. Follow them, plain and simple.
Your greenhouse is standing. Before sowing anything in it, here are the six mistakes that cost the most to those who discover them too late.
Six costly mistakes
Each one has already wrecked a project. Each one takes a minute to avoid.
Fitting 4 mm on the roof in a snowy region. The panel yields under more than 20 cm of accumulated snow; 8 mm with its advertised 50 kg/m² is the way to go (Les Serres du Cédon).
Reversing the UV-treated face. It’s this face that decides the panels’ lifespan. The marking on the protective film indicates it — read it before unwrapping, not after.
Forgetting the prior declaration. Beyond 5 m² of footprint, sorting things out after the fact costs more in time and stress than the declaration itself (Légifrance).
Neglecting the anchoring. “A poorly anchored greenhouse takes off in high winds” (Les Serres du Cédon): reinforcement brackets at the joints, intermediate rails beyond a 1.5 m span, fastenings rechecked every autumn.
Under-sizing the ventilation. A poorly ventilated greenhouse edges toward 50 °C in summer and grows fungal diseases. Aim for 15 to 20% of the floor area in openings, a 60 cm door and two to four windows, one of them in the roof (Les Serres du Cédon).
Cleaning with abrasives or solvents. These products destroy the surface UV-protection layer. Warm water and a mild soap are enough. The FAQ covers maintenance below.
Six mistakes, six disappointing greenhouses. Conversely, a correctly installed greenhouse quickly becomes more than a shelter: a machine for stretching the season. Let’s see, month by month, what it can give you.
What to grow in your polycarbonate greenhouse? The complete calendar
The most productive crops under cover
Tomatoes before the neighbors. Lettuce while the outdoor vegetable garden sleeps. There, in two lines, is what 6–10 mm polycarbonate does for your plate: tomatoes, peppers, eggplants, cucumbers, zucchini and melons in the warm season; lettuce and herbs in the shoulder seasons (Habitats-Durables.org). The light diffused by multiwall panels strikes the rows evenly and limits leaf scorch — a direct advantage for the consistency of production (Réseau Agricole).
Winter changes the lineup. Time for the hardy crops: spinach, lettuce, lamb’s lettuce, arugula, and at the heart of the cold season endives and chicory, possibly under an inner secondary tunnel (Les Serres du Cédon). The greenhouse then plays its double role: producing under cover and serving as a seedling engine for the outdoor vegetable garden. This second role is easy to underestimate; yet it’s often what changes the season.
From February to November, here’s the rundown.
The calendar month by month
This calendar, summarized from Côté Décorations and Les Serres du Cédon, remains indicative: adjust it to your region and the year’s vagaries.
| Period | Actions and crops in the greenhouse |
|---|---|
| February | Sowing tomatoes, peppers and eggplants in plug trays (the season’s starting gun) |
| March | Continued sowing, soil preparation, first early lettuce |
| April | Sowing zucchini, melons and cucumbers; protecting delicate varieties |
| May | Planting out (under cover) the seedlings that are already sturdy |
| June – August | Summer harvests (tomatoes, cucumbers), sowing radishes and lettuce; maximum ventilation |
| September – October | Planting spinach, arugula and lamb’s lettuce; last summer harvests |
| November – January | Winter crops: lamb’s lettuce, lettuce, then endives and chicory |
This table maps out a full season. But you may be wondering what the greenhouse becomes when it pauses — that is, from November to January. Precisely: that’s where polycarbonate plays its best role.
Harvesting twelve months out of twelve
Without heating, a well-sealed polycarbonate greenhouse covers growing from February to November (Côté Décorations). The advertised passive heat gain sits between +5 and +7 °C for 10 mm twin-wall (Serre2Jardin); another source goes up to +10 °C. Take the upper end with caution: these figures come from sellers, with no published measurement protocol. Keep your bearings. +5 to +7 °C is enough for spinach, lamb’s lettuce and winter lettuces. Not for January tomatoes, nor for tropical plants. For those, the 10 mm makes the heated greenhouse economically viable in most regions.
Back to this guide’s running scenario: Sophie’s greenhouse, 9 m², in the Lyon region. Tomato seedlings in mid-February under the ten-millimeter panels, transplanting in early May under cover, last tomatoes in late October, then spinach and lamb’s lettuce holding through winter without a single kilowatt spent. This scenario calls for no feats of skill, just a greenhouse closed properly and aired at the right moment.
Zero kilowatts. Re-read that sentence: it sums up the whole point.
The key to a complete annual cycle lies in managing the two extremes. In winter: hardy crops and early sowings. In summer: a cross-flow of air, obtained by opening low vents opposite a roof vent, for 15 to 20% of the floor area in openings. A thermostatic vent opener — advertised activation between 22 and 25 °C, from around €25 — drives the opening without electricity (Les Serres du Cédon).
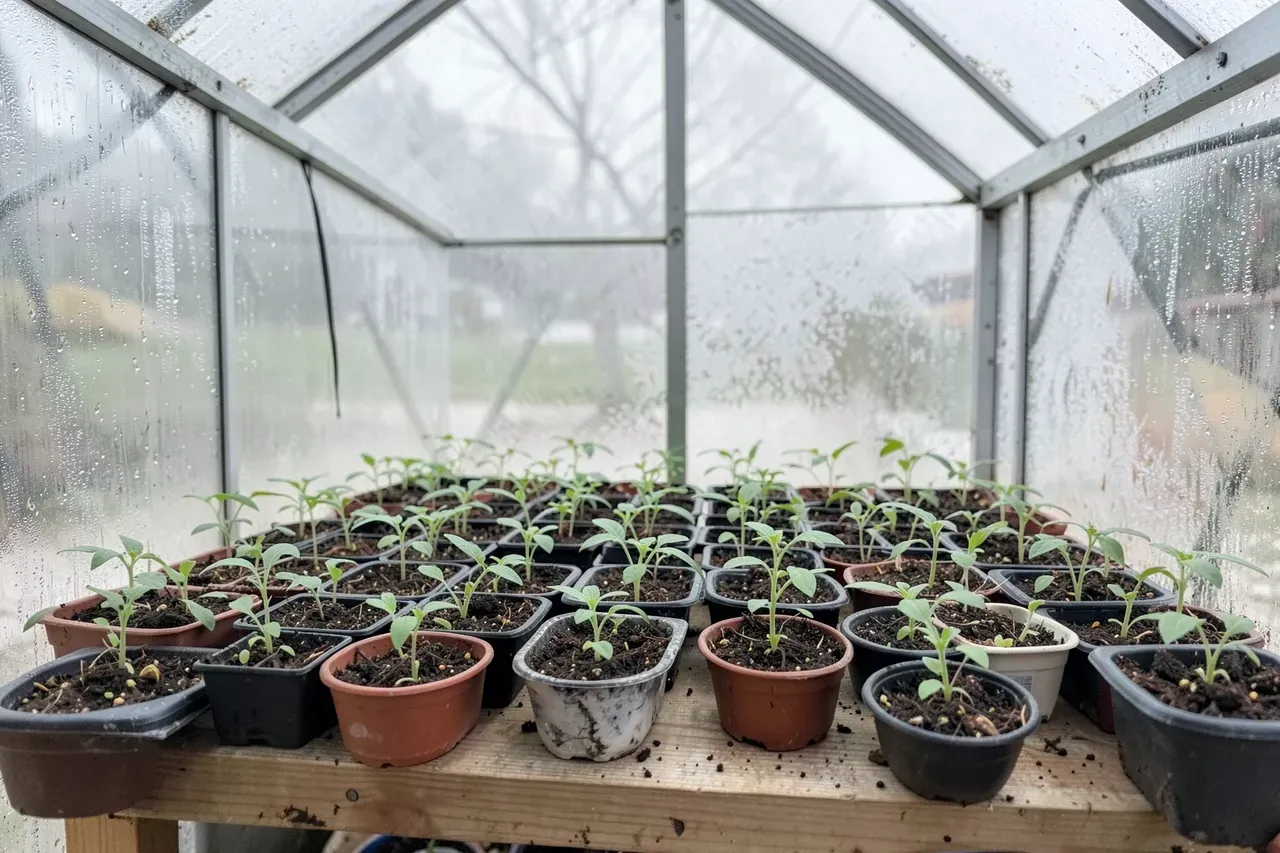
February to November is the foundation. If you want to go further — turn the greenhouse into a dense production workshop, not just a shelter — two levers exist. The first is called hydroponics.
Maximizing the yield of your polycarbonate greenhouse
Hydroponics: the natural multiplier of a well-insulated greenhouse
Have you ever left a greenhouse half-empty for three winter months? Here’s the lever that makes those months productive. Your polycarbonate greenhouse is a high-performance thermal envelope. Hydroponic growing — soilless, in a nutrient solution that circulates at the roots’ feet — is its acceleration engine. The mechanism is agreed among practitioners: nutrients dosed as close to the roots as possible, permanent oxygenation, no soil fatigue, shortened growing cycles, zero weeding.
System designers advertise production gains of 3 to 10 depending on the crop and how optimized the setup is. An honest caveat, because you deserve it before pulling out the credit card: that ceiling corresponds to optimized intensive installations, and our research found no independent French study validating these coefficients. Better to know before buying a pump. What can safely be claimed, on the other hand: hydroponics makes the best use of the thermal stability of the multiwall panels (U of 1.9 to 3.9 W/m²K), which protects the nutrient solution from extremes. To build your skills step by step, follow our beginner’s guide to hydroponics.
There’s a second lever, more discreet, that requires neither pump nor circuit: height.
Vertical towers: exploit the height, not just the floor
Then there’s the limiting factor of any greenhouse: floor area. You may have already felt it — every square meter of tomatoes nibbled away from the workspace. Vertical growing towers neutralize it by stacking plants on height — precisely the volume a 2 m ridge puts at your disposal. Lettuce, strawberries, herbs and microgreens take to it particularly well. Several dozen plants on the footprint of just one, air circulating freely between the levels (which limits fungal diseases), harvesting upright, without bending your back. Combined with a 60 cm central path and side beds of tomatoes, the towers turn a standard 9 m² into a dense production station. Our comparison of vertical growing towers details the models compatible with a 2 m ridge height.
Two levers, one goal: densify production. All that remains is to know what all this yields, once translated into kilos — then into euros.
A concrete case: 22 m² of greenhouse, target 500 kg of vegetables a year
This figure deserves to be built in full transparency, because no independent study establishes it. You may come across these “500 kg a year” in your reading: here’s where it comes from, and what it’s worth. The only published quantification in our sources estimates ~50 kg of vegetables per season for 6 m², the equivalent of a 20 m² open-air vegetable garden (Les Serres du Cédon) — a figure of commercial origin, not confirmed by an independent source, to be used as a working hypothesis. On that basis:
- Classic growing over two seasons: 22 m² × ~8 kg/m²/season × 2 seasons ≈ 350 kg/year.
- Intensified setup — hydroponics, vertical towers, winter crops, three cycles: the 500 kg/year target, i.e. ~23 kg/m²/year, remains consistent with the figures advertised for this type of configuration.
Scenario assumptions: temperate climate, productive crops (tomato, lettuce, spinach), careful management, controlled ventilation. This scenario is a methodological estimate, not a harvest guarantee. Our feature on the 22 m² hydroponic greenhouse details the corresponding setup and its month-by-month management.
Three hundred fifty to five hundred kilos is a target. Let’s translate it into euros — and that’s where the math becomes really interesting.
Budget and return on investment: what a polycarbonate greenhouse really costs
The purchase cost, in summary
Let’s return to the budgets established above: €400 to €800 for a 6 m², €600 to €1,200 for a 9 m², €800 to €1,500 for a 12 m². The “full-year” configuration recommended in this guide — 10 mm UV-treated panels, a solid frame, vents included — falls in the €500–1,200 range. Add the foundation: a few dozen euros for piers and gravel, several hundred for a concrete slab poured by a professional.
That’s the spending. What remains is the scene every buyer plays in their head: once the greenhouse is installed, what does it cost me each year?
Low running costs
Picture two identical households, same town, same appetite for vegetables. The first maintains a heated glass greenhouse; the second a 10 mm polycarbonate greenhouse, without heating. One pays for energy every winter; the other buys a liter of black soap in spring. There, in one image, is this entire section.
A polycarbonate greenhouse demands almost nothing to run. Annual maintenance comes down to a wash with warm soapy water in spring, a check of the fastenings in autumn and the possible replacement of the sealing tapes — a few euros. Without heating, no energy expense. With supplementary heating, the bill depends on the climate and the thermostat setting; the good insulation of the 10 mm mechanically reduces the power required, and that’s what makes the option viable where a polytunnel would make it ruinous. Also factor in the renewal of panels at end of life, 10 to 20 years depending on quality, while the aluminum frame exceeds 20 years.
Then there’s the question of return on investment. Let’s ask it frankly, figures in hand — caveats included.
Return on investment, calculated with caution
How long does it take to recoup the investment? The calculation deserves to be laid out while owning its theoretical nature. Back to the 350 kg/year scenario for 22 m² managed the classic way. Valuing this production at the price of a purchased vegetable basket — count €2 to €3/kg as a weighted average across tomatoes, lettuce, spinach, an assumption to adjust to your actual shopping — the annual saving sits between €700 and €1,050.
€700 to €1,050. Per year.
A €1,000 greenhouse then pays for itself in one to two seasons. Same reasoning for a 6 m² at €600 producing ~100 kg/year (the ~50 kg/season advertised by the retailer, over two seasons): payback comes in around two seasons there too.
Two seasons. Not twenty years.
These orders of magnitude rest on one condition: growing what you actually eat. A greenhouse full of zucchini nobody likes pays back nothing. The calendar in the previous chapter exists precisely to spread harvests across the year, so that production substitutes for purchases season after season. For comparison, glass provides the same functions for two to three times the purchase price; plastic sheeting imposes periodic replacement that eats away at its initial advantage.
One caveat is in order, one last time: no independent study validates these yield or valuation estimates. Treat them as a framework for thinking before you buy, not as a promise of gain.
The figures are on the table, the caveats too. What’s left are the questions everyone asks when it’s time to pull out the card — here they are, with the shortest possible answers.
FAQ: your questions about polycarbonate greenhouses
What is the lifespan of a polycarbonate greenhouse? UV-treated multiwall panels last 10 to 20 years depending on quality, while an aluminum frame exceeds 20 years. The entry level (thin 4–6 mm panels) advertises 5 to 8 years.
Do you need a building permit for a polycarbonate greenhouse? A prior declaration at the town hall is mandatory from 5 m² of footprint, and a building permit above 20 m², under article R421-9 of the French Urban Planning Code. Check the local PLU rules with your town hall.
Does polycarbonate yellow over time? Not if it has a co-extruded UV treatment, fitted with the treated face outward. Without that protection, yellowing and embrittlement appear within 3 to 5 years.
Which panel thickness should you choose? 10 mm twin-wall is the reference for year-round production. 6 mm suits the walls and mild climates; 8 mm is a must for the roof in snowy regions.
Can you heat a polycarbonate greenhouse in winter? Yes, and that’s where multiwall justifies itself: with a U-value of 1.9 W/m²K at 10 mm, the heating power needed remains reasonable. Without heating, count on +5 to +7 °C above outside — enough for hardy crops, not for January tomatoes.
How do you clean the panels without damaging them? Warm water, a mild soap and a non-abrasive cloth. No abrasive products, no solvents: they destroy the surface UV-protection layer.
Can you grow hydroponically under a polycarbonate greenhouse? Yes, and the even light diffusion of multiwall panels is well suited to it: the nutrient solution stays protected from thermal extremes by the insulation. Our beginner’s guide to hydroponics details how to get started.
Should you buy a polycarbonate greenhouse? Our verdict
Sophie, to wrap up. Her last tomatoes came off the vine in late October. The spinach took over in November. Her electricity meter didn’t budge by a single kilowatt.
On paper as on the ground, the case holds up. Insulation two to three times better than single glazing, impact resistance that eliminates the glass risk around a family vegetable garden, one-day assembly for a 6–12 m² kit, a controlled budget of €400 to €1,500: polycarbonate ticks the criteria that matter for growing from February to November. Glass keeps the advantage on light and longevity. It pays for it in the purchase price. Plastic sheeting, for its part, doesn’t stand the comparison beyond a few seasons.
Our recommendation, if the full year is your goal: a 9 or 12 m² mid-range model (€500–1,200), 10 mm UV-treated panels, an aluminum frame in humid regions, careful anchoring and 15 to 20% of the floor area in openings. And if you want to push the yield beyond the classic vegetable garden, the polycarbonate greenhouse is the ideal base for a hydroponic setup — vertical towers, nutrient circuits and winter crops integrate into it without compromise.
You have thirty seconds to invest to find out. In thirty seconds, you can check whether your garden has room for a 9 m² greenhouse — and whether your town hall requires only a simple prior declaration. Or discover that a PLU threshold, a wall that’s too close, or a budget to spread out pushes the project back a season. Grab the tape measure, open your municipality’s page, and make the call. To size up the configuration suited to your space and your region, our team supports you from choosing the panels to the first sowing.
Ready to Grow Your Own Vegetables All Year Round?
Discover our soil-less growing solutions, aeroponic greenhouse or indoor hydroponic cabinet, and take the path to food self-sufficiency without pesticides.